Homemade Boot Dryer On A Budget
Dry Your Wet Boots For Pennies With This DIY Boot Dryer
Your feet are essential to your everyday life.When feet are sore or in pain it can affect many other parts of the body and cause a person’s productivity to fall or even render them temporarily immobile.
One cause of this sort of pain can be due to wearing footwear that is damp, musty, and a growing field for bacteria and fungus.
One sure way to eliminate this type of moisture rich environment is to keep footwear dry with a boot dryer.
By Following These Easy Instructions, You Can Learn How To Make A Homemade Boot Dryer That Is Both Functional & inexpensive.
Materials
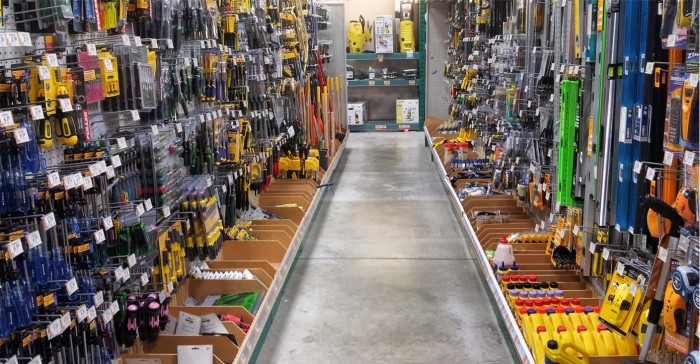
The materials that you will need for this project can be obtained easily from a hardware or home improvement center.
They include such things as:
- 2″ PVC Vent pipe.
- Two 90-degree Elbow Fittings.
- One-Length of Straight Pipe (two lengths of about 2″ plus two lengths long enough to support the length of the tallest piece of footwear to be dried)
- One-Sanitary T Fitting.
- One-1 1/2 ” to 2″ Adapter.
- PVC Glue.
- Drill.
- Tape Measure.
- Marking Pen.
- Hair Dryer.
- Hand or Circular Saw.
- 2″x8″x16″ Piece of Board.
- 3/4″ Bolt and Nut.
- 2 Flat Washers.
Many of these materials can be found in the extra or leftover parts in your garage or they can be easily obtained from a hardware type retailer; normally for under $20.
Once you have collected all of the necessary materials, it is time to get started with your measuring and construction of your homemade boot dryer.
read how does a boot dryer work
Instructions : Measuring and Cutting PVC
Drying Posts
It is important that you create your boot dryer so that it is tall enough to support the tallest pair of boots that you may be drying. Boots hung on this device should be hanging free from the floor for maximum air flow.
The finished product should keep the boots at least four to six inches from the bottom supporting posts. This means that if your tallest pair of boots are 12″, this length of pipe should be at least 16″ to 18″.
Fitting Pieces
The next section of pipe that you will need to measure is the connecting piece that will go from the center of the dryer to the 90 degree elbow.
Place a mark on the PVC where it will need to be cut; this length should be enough to glue securely into the Sanitary T fitting with enough left over to fit snuggly in side ports of the 90 degree elbows.
Drilling
The Board
- Find the center of the board and drill a hole through the board with the drill bit.
- Flip the board over and use a hole saw to drill a recessed hole down about 1/2″ in the center.
- Using the chisel tool, clear out the inside of the area cut by the hole saw to reveal a recess in the board (this will house the bolt head.)
The Pipes
- On one end of each of the longer pipes, drill a number of holes around the perimeter. Add additional holes going down the length of the pipe.
- Using the saw, cut the end of the pipe that has the holes on an angle so that the air is not blocked inside of the boot when drying.
- Cut two connecting pieces approximately two to three inches in length.
Assembly
- Assemble the adapter piece using the bolt and washers to attach them to the board. Put the large washer onto the bolt and thread it up through the wood base. Place the PVC adaptor onto the bolt and secure the nut onto the bolt to hold the base in place.
- Using the sanitary T fitting, glue the 2″ fitting pieces into the side ports of the PVC pipe, leaving enough length to glue the 90 degree angles onto the unit.
- Place glue around the interior of the pipe coming from the board, and fit in the Sanitary T with the side pipes facing upward.
- Using the glue once again, fit in the taller side posts. Make sure to glue in the end that does not have the holes.
- In the center spot on the dryer, glue in the 6″ extension piece with the coupling piece at the top.
Testing Your Homemade Boot Dryer
When you make your own boot dryer, it is necessary to test the air flow and functionality of your new dryer.
- Place the blowing end of a UL Listed and approved hair dryer in the center port of the dryer.
- Using the lowest or no heat setting, turn on the dryer.
- Check the air flow from the pipes to ensure even drying of boots.
When all parts have been checked for leaks and proper air flow, you can place your boots on the rack and in a short amount of time you will be enjoying warm and dry boots.
Keeping your feet and boots dry is easy when you make your own boot dryer from simple materials and items that you can obtain easily from around your home or local hardware store.
Use this tutorial to make your own boot dryer as a quick and easy way to preserve your boots from the inside out.

